
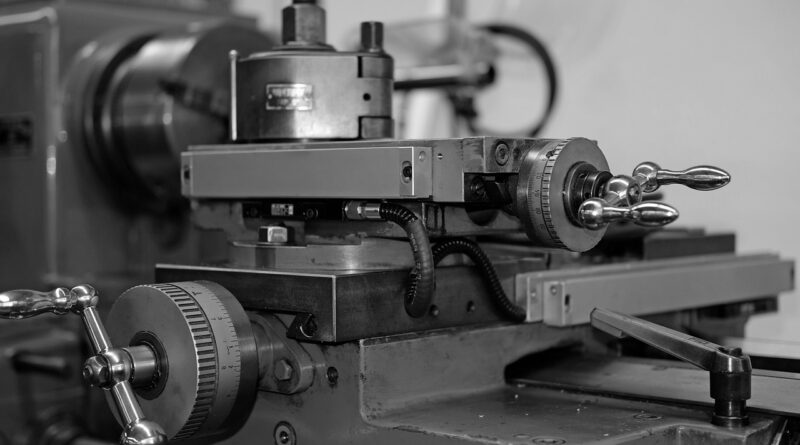
How Can CNC Lathe Programming Reduce Scrap and Cycle Time?
What Makes CNC Lathe Programming Different from General CNC Programming?
cnc lathe programming changes a drawing into controlled machine moves on rotating stock. In turning, the part rotates, the tool usually travels in X and Z, and small choices can affect diameter, taper, finish, chip shape, and tool life. The main standard reference here is ISO 6983-1:2009, which defines numerical control program format and address words for more consistent programming on similar NC machines. (iso.org)
X and Z Axis Motion
On a CNC lathe, Z normally runs along the spindle centerline, and X controls the diameter. It sounds basic, but it changes the way a programmer reads the part. A 0.10 mm X move can take 0.20 mm off the diameter when the control is set for diameter programming. Check the control setting before trusting the drawing value. A steady habit is to leave enough approach clearance, then let the finishing pass bring the diameter to size.
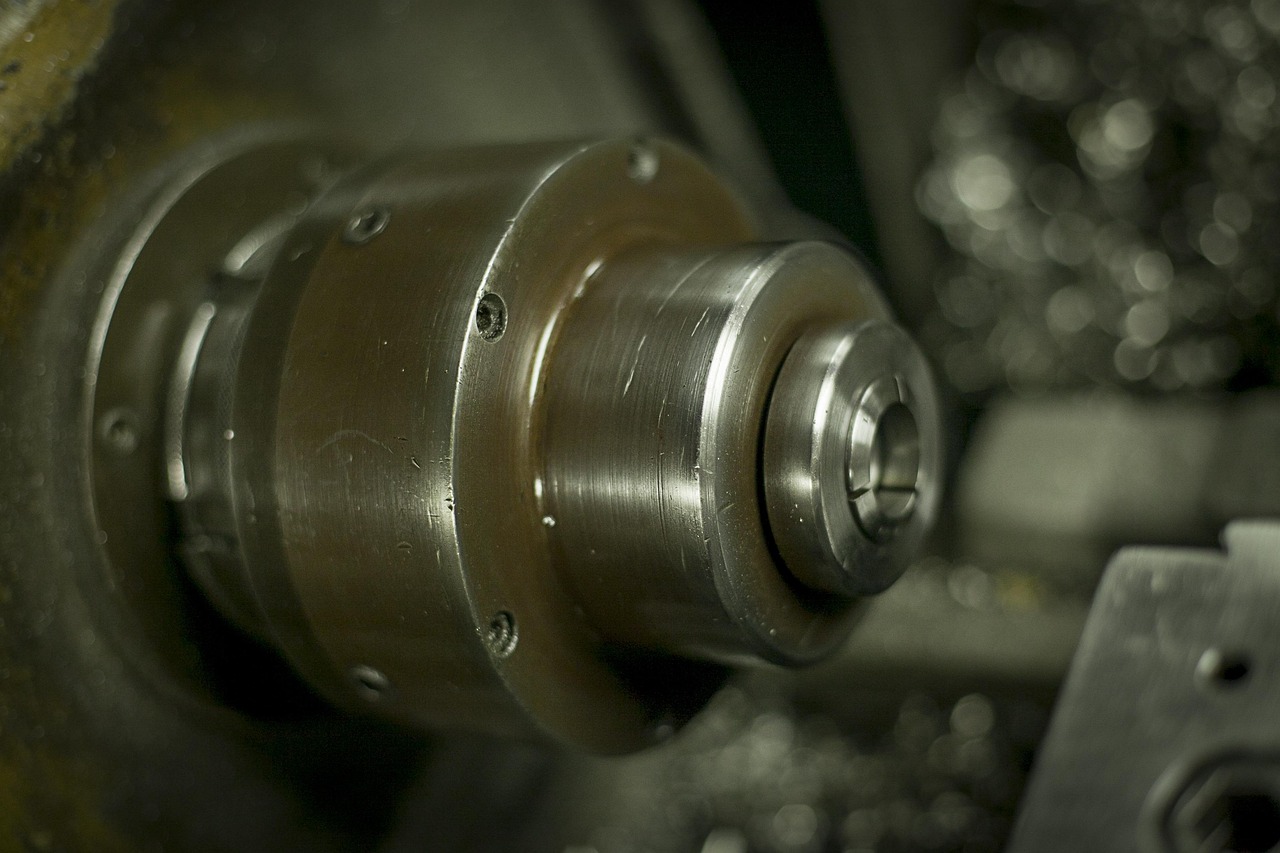
Diameter Programming for Turning
Most production lathes use X values as part diameter, not tool radius. This lets the operator compare the program with the print without extra calculation. It also makes wrong values easier to catch at the machine. If the print calls for a 25.00 mm shaft and the finish line shows X25.00, the setup person knows what the line is meant to do. That kind of simple check helps during night shift work or a fast insert change.
Workholding Drives the Code
Chuck jaws, collets, soft jaws, bar pullers, steady rests, and tailstocks all change how the program should be written. Tool motion can look right on screen, but weak or wrong clamping can still cause bell-mouth, chatter, or part slip. Before writing code, confirm grip length, jaw clearance, part stop position, and the cutoff method. A lathe program that does not account for the chuck is not ready for the floor.
How Do You Build a Reliable Program before the First Cut?
A sound lathe program starts before the first G01 line. It starts with the drawing, stock, machine, tool list, and inspection plan. The U.S. Bureau of Labor Statistics describes CNC programmers as workers who convert CAD designs into CAM programs with a sequence of cutting-tool operations, and its 2024 to 2034 matrix projects CNC tool programmers rising from 28.3 thousand to 31.9 thousand jobs, a 12.8 percent increase. That data is a plain reminder that good programming skill still matters, even when shops use more automation. (bls.gov)
Clean Drawing and Datum Choices
Choose program zero based on how the part will be held and measured. For a shaft, Z zero may be on the finished face. For a bushing, it may work better to touch off after facing and boring. If the drawing datum disappears after the first operation, use a practical setup datum and write down how it relates to the drawing datum. Do not leave that detail as shop memory.
Tool List before the Toolpath
List every tool by station, insert shape, nose radius, holder hand, coolant style, and offset number. One common shop problem is programming T0303 for a 0.4 mm nose radius, then running a 0.8 mm insert because that is what was already in the turret. The part may look close until a shoulder radius or taper check fails. Tool identity should be on the setup sheet as well as in the program.
A Short Process Plan
Write the process in shop order: face, rough OD, drill, bore, groove, thread, finish, cutoff. For each step, state which feature it makes and how that feature will be checked. The note may look plain, but it can stop a morning reset from making scrap. If the job needs heat treatment or plating allowance, show that before the code is released.
Which G Codes and M Codes Matter Most on a Lathe?
Controls are not all the same, so the exact code has to match the machine manual. Even so, most turning programs follow a common flow: set modes, start the spindle, call a tool, move safely, cut, retract, and end cleanly. The point is not fancy code. The point is code that another trained machinist can read without guessing.
Positioning, Spindle, and Feed Commands
G00 is used for rapid moves, G01 for straight cutting moves, and G02 or G03 for arcs. G96 often sets constant surface speed, while G97 sets fixed RPM. Feed can be programmed per revolution with G99 or per minute with G98, depending on the control and the job. For turning, feed per revolution is usually easier to match with insert data and chip load.
Canned Cycles for Repeat Work
Roughing cycles, finishing cycles, threading cycles, and grooving cycles can reduce code length and make repeat edits quicker. They also place a lot of tool motion inside only a few lines. Check retract planes, finish allowance, tool nose direction, and cycle end points before running the job. If a roughing cycle spends half the part cutting air, the profile order may be the problem, not the insert.
Safe Starts and Safe Returns
Every tool call should bring the machine back to a known condition. A safe start line usually cancels unwanted modes, selects feed mode, sets spindle mode, and moves to a known clearance point. Safe return moves must clear the part, chuck, tailstock, sub-spindle, and any long boring bar still in the turret. A crash rarely comes from one bad line by itself. It often comes from two normal lines running in the wrong order.
How Should You Choose Speeds, Feeds, and Tools?
Speed and feed should be based on material, insert grade, operation, rigidity, coolant, and actual cutting diameter. Sandvik Coromant’s turning formula set uses cutting speed, spindle speed, feed per revolution, and cutting depth as core variables. In metric work, spindle speed follows the common relation n = Vc × 1000 ÷ πD. For a 50 mm bar at 180 m/min, that gives about 1,146 rpm before applying any machine limit or chuck limit. (cdn2.sandvik.coromant.com)
Cutting Speed from Real Diameter
Constant surface speed helps when the diameter changes during facing and profiling. At a larger diameter, RPM stays lower. Near center, the control wants to raise RPM, so set a maximum RPM cap. This is important on both bar work and chuck work. A 200 mm casting and a 20 mm pin should not use the same speed ceiling, and the chuck may set the real limit.
Feed per Revolution for Stable Chips
Feed changes chip thickness and surface finish. Too little feed can make the insert rub, especially on work-hardening stainless. Too much feed can overload the nose radius or leave a rough surface. A useful way to start is to keep roughing and finishing separate. Rough with enough feed and depth to form a proper chip, then finish with a smaller stock allowance, steady feed, and a tool nose radius that fits the print corner limits.
Nose Radius and Insert Geometry
A larger nose radius can help finish and edge strength, but it can also push harder and cause chatter on slender parts. A sharper positive insert may cut better on small machines, while a stronger negative insert may fit heavy roughing. Match the insert geometry to the setup, not just to the catalog line. If the part sticks out 6 times its diameter, no feed rate will make up for poor support. See also: CNC Machining.
How Can You Prove the Program Is Safe before Production?
Program proofing is not just paperwork. It protects people, machines, tools, and delivery dates. OSHA lists lathe hazards such as contact with rotating parts, point-of-operation contact, and flying chips, and it notes that hands, clothing, or jewelry can be pulled into rotating stock. That safety point belongs with programming because code controls motion, speed, tool approach, and stop points. (osha.gov)
Simulation before Machine Time
Run simulation with the right stock size, chuck model, tool holders, tailstock, and cutoff blade width. A toolpath floating in empty space does not show enough risk. Look for rapid moves through jaws, boring bars hitting the bore mouth, drill tips going too deep, and cutoff tools leaving a pip that hurts the next operation. If the simulation cannot model a detail, put it in the setup note.
Single Block and Optional Stop Checks
At the machine, prove the first part with single block, feed hold, graphics, and optional stops where they are needed. Dry run can help, but dry run with wrong offsets can also give a false sense of safety. Use safe Z clearance, lower rapid override, and watch the tool direction. A boring bar moving the wrong way is easy to catch when it is 25 mm away from the part. It is much harder to catch at full rapid inside a bore.
Guarding, Bar Stock, and Human Habits
Programming should make safe habits easier to follow. Add stops for long bar checks, chuck pressure checks, chip clearing, and insert inspection. Do not place a required manual action close to rotating stock. If the program uses a bar puller, test the jaws, spindle clamp, pull distance, and cutoff sequence with low risk first. A good program is uneventful to run, and that is the point.
How Do CAM, Shop Data, and Operators Improve CNC Lathe Programming?
CAM can post usable code, but shop data makes that code better. NIST research on energy-efficient machining notes that process planning now looks at reducing machine tool energy use, and that component models can use historical process plans, NC programs, and machine-monitoring data. The same thinking works in turning shops. Clear feedback from real jobs is more useful than memory that never gets written down. (nist.gov)
CAM as a Starting Point
Use CAM for repeat profiles, collision checks, and clean post output. After posting, still read the code. Look for long air cuts, weak retract moves, wrong feed mode, missing spindle limits, and tool changes that could be combined. CAM is not a button that removes shop judgment. It is a fast tool, but the code still needs a machinist’s eye.
Shop Notes That Save Time
Keep a short note for each proven job: material lot behavior, insert grade, final offsets, first article changes, burr problems, coolant setting, and cycle time. When the same part returns in six months, those notes may save more time than building a new toolpath. If a vendor changes the bar stock from cold drawn to hot rolled, write that down too. It may explain a finish problem that shows up later.
Measurement Feedback after First Articles
Put inspection results back into the program and setup method. If the bore is always 0.012 mm small after warm-up, the cause may be offset strategy, tool wear comp, or thermal timing. If taper changes by operator, the cause may be chuck pressure or part seating. Do not claim one public scrap-reduction percentage for CNC lathe programming across all shops; reliable open data for every material, control, shop size, and fixture mix is not available. Use your own measured scrap, rework, tool life, and cycle time as the proof.
FAQ
Q1: What Is CNC Lathe Programming? A: CNC lathe programming is the process of writing or posting machine instructions that control spindle speed, tool motion, feed, coolant, tool changes, and cutting cycles for turned parts.
Q2: Is Manual G Code Still Needed with CAM? A: Yes. CAM is useful, but you still need to read G code, edit safe moves, check cycles, set spindle limits, and fix machine-specific post issues.
Q3: What Is the Biggest Beginner Mistake on a CNC Lathe? A: A common mistake is ignoring clearance around the chuck, jaws, tailstock, or boring bar. The toolpath may look correct, but the setup space may not be safe.
Q4: Should You Use G96 or G97 for Turning? A: Use G96 constant surface speed when diameter changes and finish matters, but set a safe RPM limit. Use G97 fixed RPM when the process needs steady speed, such as some drilling, tapping, or setup checks.
Q5: How Do You Reduce Scrap with CNC Lathe Programming? A: Start with a clear datum, verified tools, safe start blocks, proven speeds and feeds, simulation, first article checks, and written shop notes. Then track real scrap and cycle time for each repeat job.