
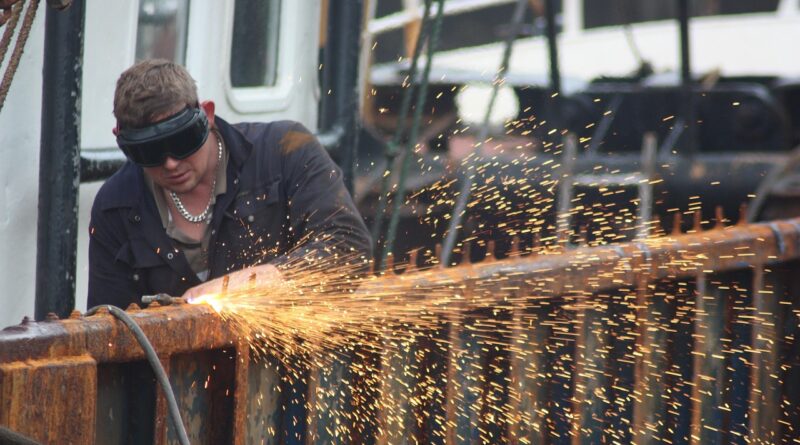
Cutting wheel for grinder selection guide for metal and masonry
What a cutting wheel must match before it touches the work
A cutting wheel for grinder use is not a universal disc. Before price or brand, the choice has to match five items: the work material, wheel profile, diameter and arbor, maximum RPM rating, and the grinder’s guard and flange setup. For everyday fabrication, repair and maintenance work, a sound rule is to use a wheel marked for the material, sized for the grinder, rated at or above the grinder’s no-load speed, and intended for cutting rather than side grinding. OSHA abrasive wheel rules, ANSI B7.1 safety guidance, CCOHS safe-use advice and manufacturer data sheets all stress speed compatibility, guarding and correct mounting because cut-off wheels are thin, highly stressed and vulnerable to side load.
This guide focuses on portable angle grinders and common shop or field cutting tasks. For more tooling topics across machining, abrasives and shop-floor selection, see the Cutting & Tooling section.
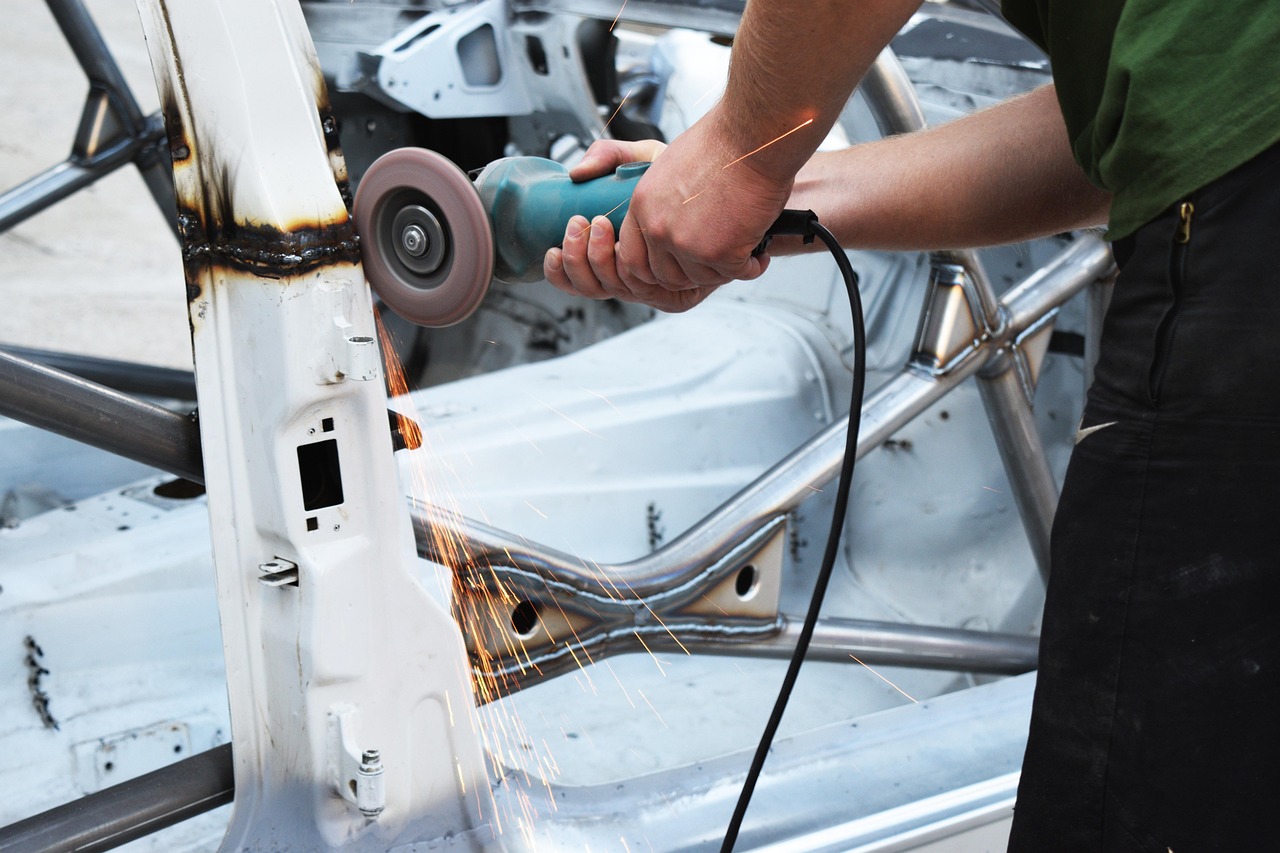
Start with the material, not the wheel size
The most common selection mistake is choosing by diameter alone. A 4-1/2 inch, 5 inch or 7 inch wheel may fit the grinder physically, but the abrasive formulation and bond still have to match the workpiece. Metal, stainless steel, masonry and tile do not cut the same way. The wrong wheel can slow the cut, overheat the work, contaminate the surface or damage the disc.
| Work material | Common wheel choice | What to look for on the label | Selection caution |
|---|---|---|---|
| Carbon steel and structural steel | Resin-bonded abrasive cut-off wheel | Metal, steel or ferrous metal marking | Avoid side pressure; thin wheels are for straight cuts |
| Stainless steel | Stainless or INOX-rated cut-off wheel | Iron, sulfur and chlorine limits if stated by the manufacturer | Do not use a wheel that has already cut carbon steel if surface cleanliness matters |
| Aluminum and soft nonferrous metals | Wheel specifically marked for aluminum or nonferrous metal | Non-loading formulation or nonferrous marking | Standard steel wheels may load up and generate heat |
| Concrete, brick and masonry | Masonry abrasive wheel or diamond cutting wheel | Masonry, concrete, stone or tile marking | Confirm dry or wet use and dust-control requirements |
| Ceramic tile, stone and pavers | Diamond blade suited to the material | Tile, stone, segmented, continuous rim or turbo style as applicable | Use only if the blade and grinder instructions allow the setup |
For stainless steel, the wheel is not only a cutting tool but also a surface-integrity choice. Stainless-rated wheels are commonly selected to reduce contamination risk and heat staining. They do not replace good cutting technique, but they can help avoid introducing carbon steel residue into a corrosion-sensitive surface.
For masonry and concrete, wheel wear is only one concern. Cutting mineral materials can create respirable dust, and silica-containing materials require dust control under applicable workplace rules. In professional settings, check the job-specific safety plan before assuming a dry cut with a handheld grinder is acceptable.
Understand Type 1 and Type 27 cutting wheels
Much of the confusion around grinder cut-off wheels starts with wheel shape. Type 1 wheels, also called Type 41 in some marking systems, are flat cut-off wheels. Type 27 wheels, also called Type 42 in some systems, have a depressed center. Both styles are sold for cutting applications, but the grinder, guard, flange arrangement and manufacturer instructions must all be compatible with the wheel style.
Type 1 flat cut-off wheels
A Type 1 wheel is flat from hub to rim. It is often used where a narrow, straight cut is needed and the grinder is equipped with the proper guard and mounting hardware for that wheel type. The flat profile can help with access, but it does not make the wheel suitable for side grinding. Thin Type 1 cut-off wheels are designed mainly for radial cutting forces, not bending or twisting loads.
Type 27 depressed-center cut-off wheels
A Type 27 cut-off wheel has an offset center that can create clearance around the spindle nut and flange. Some right-angle grinder wheels use this geometry because it suits offhand cutting positions. However, a depressed center does not automatically mean the wheel can be used like a grinding wheel. Unless the label and instructions explicitly allow side cleaning or light side action, treat it as a cutting wheel and keep the cut straight.
Cutting wheels are not grinding wheels
A grinding wheel is thicker and built for controlled face contact. A cut-off wheel is thinner because its job is to separate material with a narrow kerf. Using the side of a thin cut-off wheel to deburr, bevel or grind can overload the disc. If the task changes from cutting to stock removal, change to a wheel designed for grinding or use a flap disc when finishing is the goal.
Match diameter, arbor and RPM before mounting
Wheel size is a safety decision as much as a productivity decision. The diameter must be allowed by the grinder manufacturer and fit inside the correct guard. The arbor hole must match the spindle or the approved mounting system. The wheel’s maximum RPM must be equal to or higher than the grinder’s rated no-load RPM. This requirement is consistent across OSHA guidance, ANSI B7.1 safety principles, CCOHS recommendations and major abrasive wheel manufacturers.
Never choose a larger wheel because it appears to offer more reach. A wheel made for a larger grinder may have a lower maximum RPM than a small, high-speed grinder. Mounting that larger wheel on a smaller grinder can exceed the wheel’s safe operating speed. The disc may appear to run normally at first, but overspeeding increases the risk of wheel failure.
| Label item | Why it matters | What to verify |
|---|---|---|
| Diameter | Controls guard fit, reach and surface speed | Matches the grinder size allowed by the tool manual |
| Thickness | Affects cut speed, kerf width, rigidity and heat | Thin for fast straight cuts; thicker only when the application calls for it |
| Arbor size | Controls proper centering and clamping | Fits the spindle or approved adapter without looseness |
| Maximum RPM | Prevents overspeeding | Wheel rating is at least the grinder’s no-load RPM |
| Material marking | Confirms abrasive suitability | Steel, stainless, aluminum, masonry or other intended material is listed |
| Use-by or date code | Supports traceability and resin-bond condition checks | Follow the wheel manufacturer’s date and storage guidance |
Many abrasive wheels also carry pictograms for eye protection, hearing protection, respiratory protection, guard use and damaged-wheel rejection. These symbols are not decorative. They condense important operating limits into a quick label check and should be read before the wheel is mounted.
Choose thickness for the cut, not only for durability
Thin cut-off wheels are popular because they cut quickly, remove less material and require less power. They are useful for sheet metal, tubing, rebar, threaded rod and light fabrication cuts where a narrow kerf is helpful. The tradeoff is lower tolerance for twisting, pinching and poor alignment.
Thicker cut-off wheels can offer more stability and longer life in some rougher applications, but they also create a wider kerf and may generate more heat. On a low-power grinder, an overly thick wheel can encourage the operator to push harder, which is usually the wrong response. A wheel should cut with steady pressure and controlled feed, not with force that slows the grinder dramatically.
- For thin sheet and light tube: a thin metal cut-off wheel can reduce burrs and heat input when the cut is kept straight.
- For heavier bar or structural sections: choose a wheel that balances rigidity and cutting speed, and let the grinder maintain speed.
- For stainless: use a stainless-rated wheel and avoid lingering in one spot, which can overheat the edge.
- For masonry: a diamond blade may outlast abrasive masonry wheels, but the correct choice depends on the material, cut depth and dust-control plan.
Wheel thickness should also fit the cut geometry. If the workpiece can close on the wheel, even a high-quality disc can bind. Support the work so the kerf opens as the cut progresses, especially on long stock, pipe and offcuts that can sag. See also: CNC Machining.
Guarding, mounting and handling decide whether the wheel can work safely
Selection does not end when the wheel size looks right. Portable grinders should be used with the proper guard installed and positioned to help deflect sparks and fragments away from the operator. OSHA guidance for portable abrasive tools stresses guarding, eye protection and speed control, while ANSI B7.1 is widely referenced for abrasive wheel use, care and protection.
Before mounting
- Inspect the wheel for cracks, chips, water damage, distortion or a missing label.
- Check that the wheel rating meets or exceeds the grinder speed.
- Confirm the wheel is marked for the intended material and operation.
- Use clean, correct flanges and do not force the wheel onto the spindle.
- Reject any wheel that has been dropped or stored in questionable conditions.
During the cut
- Use two hands and keep a balanced stance out of the wheel’s plane where practical.
- Allow the grinder to reach operating speed before entering the cut.
- Keep the wheel aligned with the kerf; do not twist to widen the slot.
- Let the abrasive do the work and avoid heavy pressure that bogs the tool.
- Stop and reassess if the wheel vibrates, chatters, binds or changes sound.
Personal protective equipment should match the hazard. Eye protection is a minimum; face protection, hearing protection, gloves, sleeves and respiratory protection may be needed depending on the material and environment. For cutting concrete, brick, stone or coatings, dust exposure can become the controlling hazard rather than the wheel itself.
Common buying mistakes that lead to poor cuts
Many cutting problems blamed on wheel quality are actually specification mismatches. A premium wheel used on the wrong material can perform worse than a basic wheel used correctly. The following mistakes are common in maintenance shops, fabrication bays and jobsite work.
| Mistake | Why it causes trouble | Better decision |
|---|---|---|
| Buying one wheel for every material | Abrasive chemistry and bond design vary by material | Stock separate wheels for steel, stainless and masonry |
| Ignoring the grinder’s no-load RPM | Overspeeding increases wheel stress | Check wheel RPM every time the size changes |
| Removing the guard for access | Exposes the operator to sparks, contact and fragments | Use the correct guard or a different tool for the access problem |
| Side-loading a thin cut-off wheel | Cutting discs are not built for bending loads | Switch to a grinding wheel or flap disc for side work |
| Using old or poorly stored resin wheels | Moisture, impact and age can affect wheel condition | Store wheels dry, flat and protected; follow manufacturer date codes |
| Cutting unsupported stock | The kerf can close and pinch the wheel | Clamp and support the work so the cut opens |
A practical purchasing approach is to standardize around a small set of clearly labeled wheels rather than buying many similar discs with overlapping uses. For example, a shop may stock a thin steel cut-off wheel, a stainless-rated wheel, a heavier-duty metal cut-off wheel and a masonry or diamond option. That reduces confusion and makes training easier.
A practical selection workflow
When choosing a wheel at the bench, crib or jobsite, a short workflow prevents most errors.
- Identify the material. Decide whether the cut is in carbon steel, stainless, aluminum, masonry, tile or another material.
- Confirm the operation. Choose a cut-off wheel for cutting only, not for grinding, beveling or face work.
- Match the grinder. Verify diameter, arbor, guard type, flange setup and maximum RPM.
- Choose the thickness. Select a thin wheel for fast straight cuts or a more robust wheel when the application requires added rigidity.
- Check the label. Look for material marking, wheel type, speed rating, safety pictograms and date information.
- Inspect and mount correctly. Reject damaged wheels and run the grinder in a safe orientation before cutting.
The best cutting wheel for grinder work is the one that fits the whole system: work material, grinder design, guard, wheel rating and operator technique. Treating the wheel as part of that system is more reliable than selecting by brand, price or thickness alone.
Frequently asked questions
Can I use a metal cutting wheel on masonry?
Use a wheel marked for the material. A metal cut-off wheel is not the right default choice for concrete, brick, tile or stone. Masonry abrasive wheels and diamond blades are designed for those materials, but the grinder and guard still need to permit the setup.
Can I grind with a cutting wheel?
In general, no. Thin cut-off wheels are intended for cutting, not side grinding. If the task involves shaping, beveling, weld cleanup or surface removal, use a grinding wheel or flap disc rated for that operation.
What happens if the wheel RPM is lower than the grinder RPM?
The wheel may be oversped, which increases the risk of failure. The wheel’s maximum RPM must be equal to or higher than the grinder’s no-load RPM. Do not assume that a larger wheel is safe on a smaller grinder.
Is a thinner cut-off wheel always better?
No. Thin wheels cut quickly and leave a narrow kerf, but they are less tolerant of twisting and pinching. Choose thickness based on the material, cut geometry, grinder power and how well the work can be supported.
How should cutting wheels be stored?
Store abrasive wheels dry, clean, flat and protected from impact, chemicals and temperature extremes. Keep labels readable and follow the manufacturer’s shelf-life or date-code guidance, especially for resin-bonded wheels.